
Outdoor walk-in cooler construction starts with a suitable site, a properly prepared base, weather protection, and refrigeration sized for the actual workload. Plan these together before ordering panels. A cooler that fits the yard still needs practical delivery access, reliable utilities, and room for servicing.
For restaurants and food businesses, the useful starting point is a site layout showing the cooler, kitchen entrance, delivery route, drainage, and equipment clearances.
What should outdoor walk-in cooler construction begin with?
Define the storage requirement and check the site before selecting equipment. FAO’s cold-storage planning guidance identifies access, stable ground, utilities, and drainage as basic planning considerations; it also distinguishes usable storage from space occupied by equipment and circulation routes.
As an illustrative example, a 10-by-12-foot footprint occupies 120 square feet. That does not provide 120 square feet of shelving: walls, the doorway, and working space affect the usable layout.
Heatcraft’s engineering guidance also accounts for product temperature, incoming loads, air infiltration, and heat-producing equipment. Record these operating details before requesting refrigeration sizing.
Share your inventory estimate and site sketch with American Walk-In Coolers when comparing configurations. Ask which items the quotation includes and who handles the base, electrical connection, assembly, and commissioning.
Prepare the base and delivery route
The support surface must suit the selected cooler and its loaded weight. Keep the equipment base level as specified, while designing the surrounding drainage to carry water away.
Have the installer assess an existing concrete pad before reusing it. Visible cracks, uneven areas, and water collecting near the proposed threshold deserve attention before delivery.
Review the site with this checklist:
| Check | Question to resolve before ordering |
| Foundation | Can the base support the specified equipment and inventory? |
| Access | Can delivery equipment reach the assembly area? |
| Doorway | Can loaded carts turn and pass without obstruction? |
| Drainage | Where will rainwater and system condensate go? |
| Utilities | Are the required connections available at the planned location? |
Avoid squeezing the cooler into the last available corner. A slightly different position may simplify unloading and keep everyday kitchen traffic clear.
Specify weather protection and sealed connections
An outdoor installation needs a complete weather-resistant enclosure. Coordinate the roof covering, panel joints, door protection, and service penetrations with the manufacturer’s assembly details.
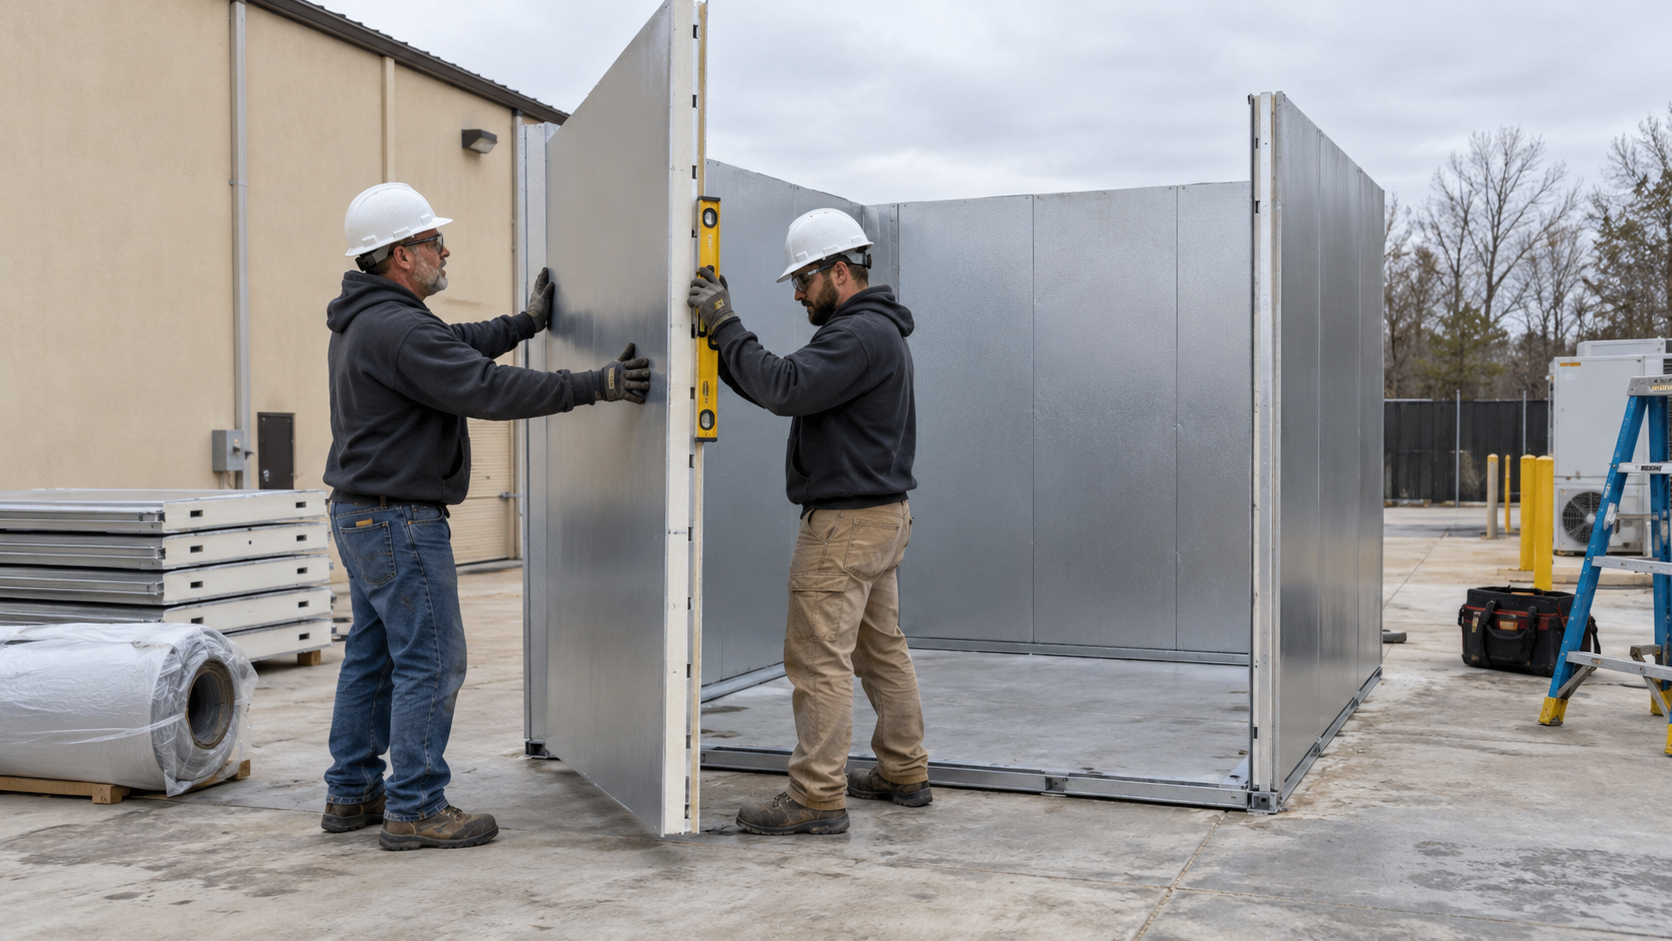
U.S. Cooler’s installation guidance requires airtight wall penetrations and explains rain-roof sealing. Its details illustrate why refrigeration connections and roof work must be coordinated; use the instructions for the equipment actually purchased.
For product-specific comparison, AWIC’s WSF listing includes four-inch insulation and an outdoor rubber roof membrane. Its page on outdoor walk-in cooler design and installation helps buyers identify features to confirm in a written specification.
Do not assume an indoor enclosure becomes suitable for outdoor use simply by adding a cover. Confirm the complete outdoor configuration, including refrigeration equipment and exposed electrical components.
Protect airflow and maintenance access
Place refrigeration equipment where it can exchange air freely and technicians can reach its service panels. Landscaping, fencing, and stored supplies must respect the equipment’s specified clearances.
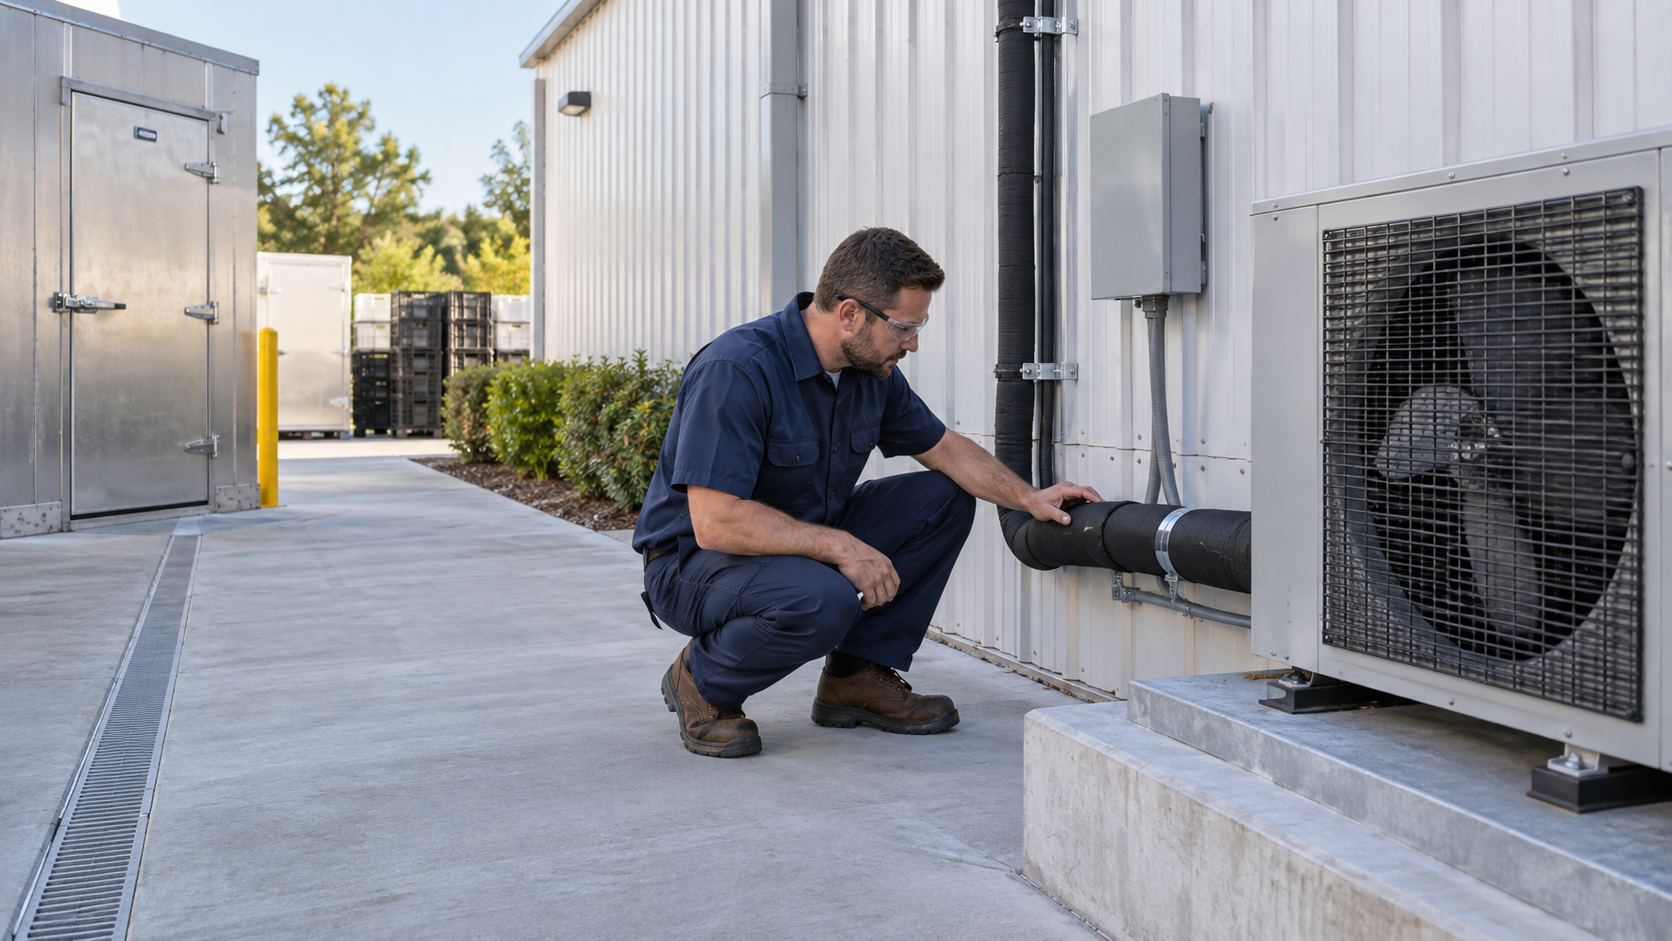
Heatcraft’s condensing-unit manual emphasizes both incoming ambient air and removal of heated discharge air. A decorative screen that traps hot air can undermine an otherwise workable layout.
Ask the installer to mark the required access area on the site plan. Keep that area clear after installation, and arrange maintenance around the manufacturer’s instructions and actual site conditions.
Before handover, request a startup record covering controls, operating temperatures, door operation, and drainage. Also identify the person responsible for routine visual checks and the contractor to call when readings change unexpectedly.
Frequently asked questions
Can an outdoor cooler sit on an existing patio?
Only if a qualified installer confirms that the surface meets the selected unit’s support, levelness, drainage, and anchoring requirements. Its appearance alone does not establish suitability.
Does a larger cooler need more powerful refrigeration?
Room size matters, but it is only one input. Incoming product temperature, loading frequency, ambient conditions, insulation, and door activity also affect the required capacity.
Can landscaping hide the condenser?
Possibly, if the design preserves the manufacturer’s airflow and service clearances. Leave space for vegetation growth, and avoid enclosing the unit in a pocket of recirculating hot air.
What should an installation quotation include?
Request clear responsibility for the enclosure, roof, refrigeration, base preparation, utilities, delivery, assembly, and startup. Identify exclusions so separate contractor costs do not appear unexpectedly.
Turn the site sketch into a complete brief
Measure the location, document your busiest storage period, and map the delivery route. Then request a coordinated specification covering construction, refrigeration, and maintenance access before committing to the installation.